Creating Polls
Creating a poll in Pawtograder is designed to be quick and straightforward, allowing you to set up a poll in just a few seconds during class.
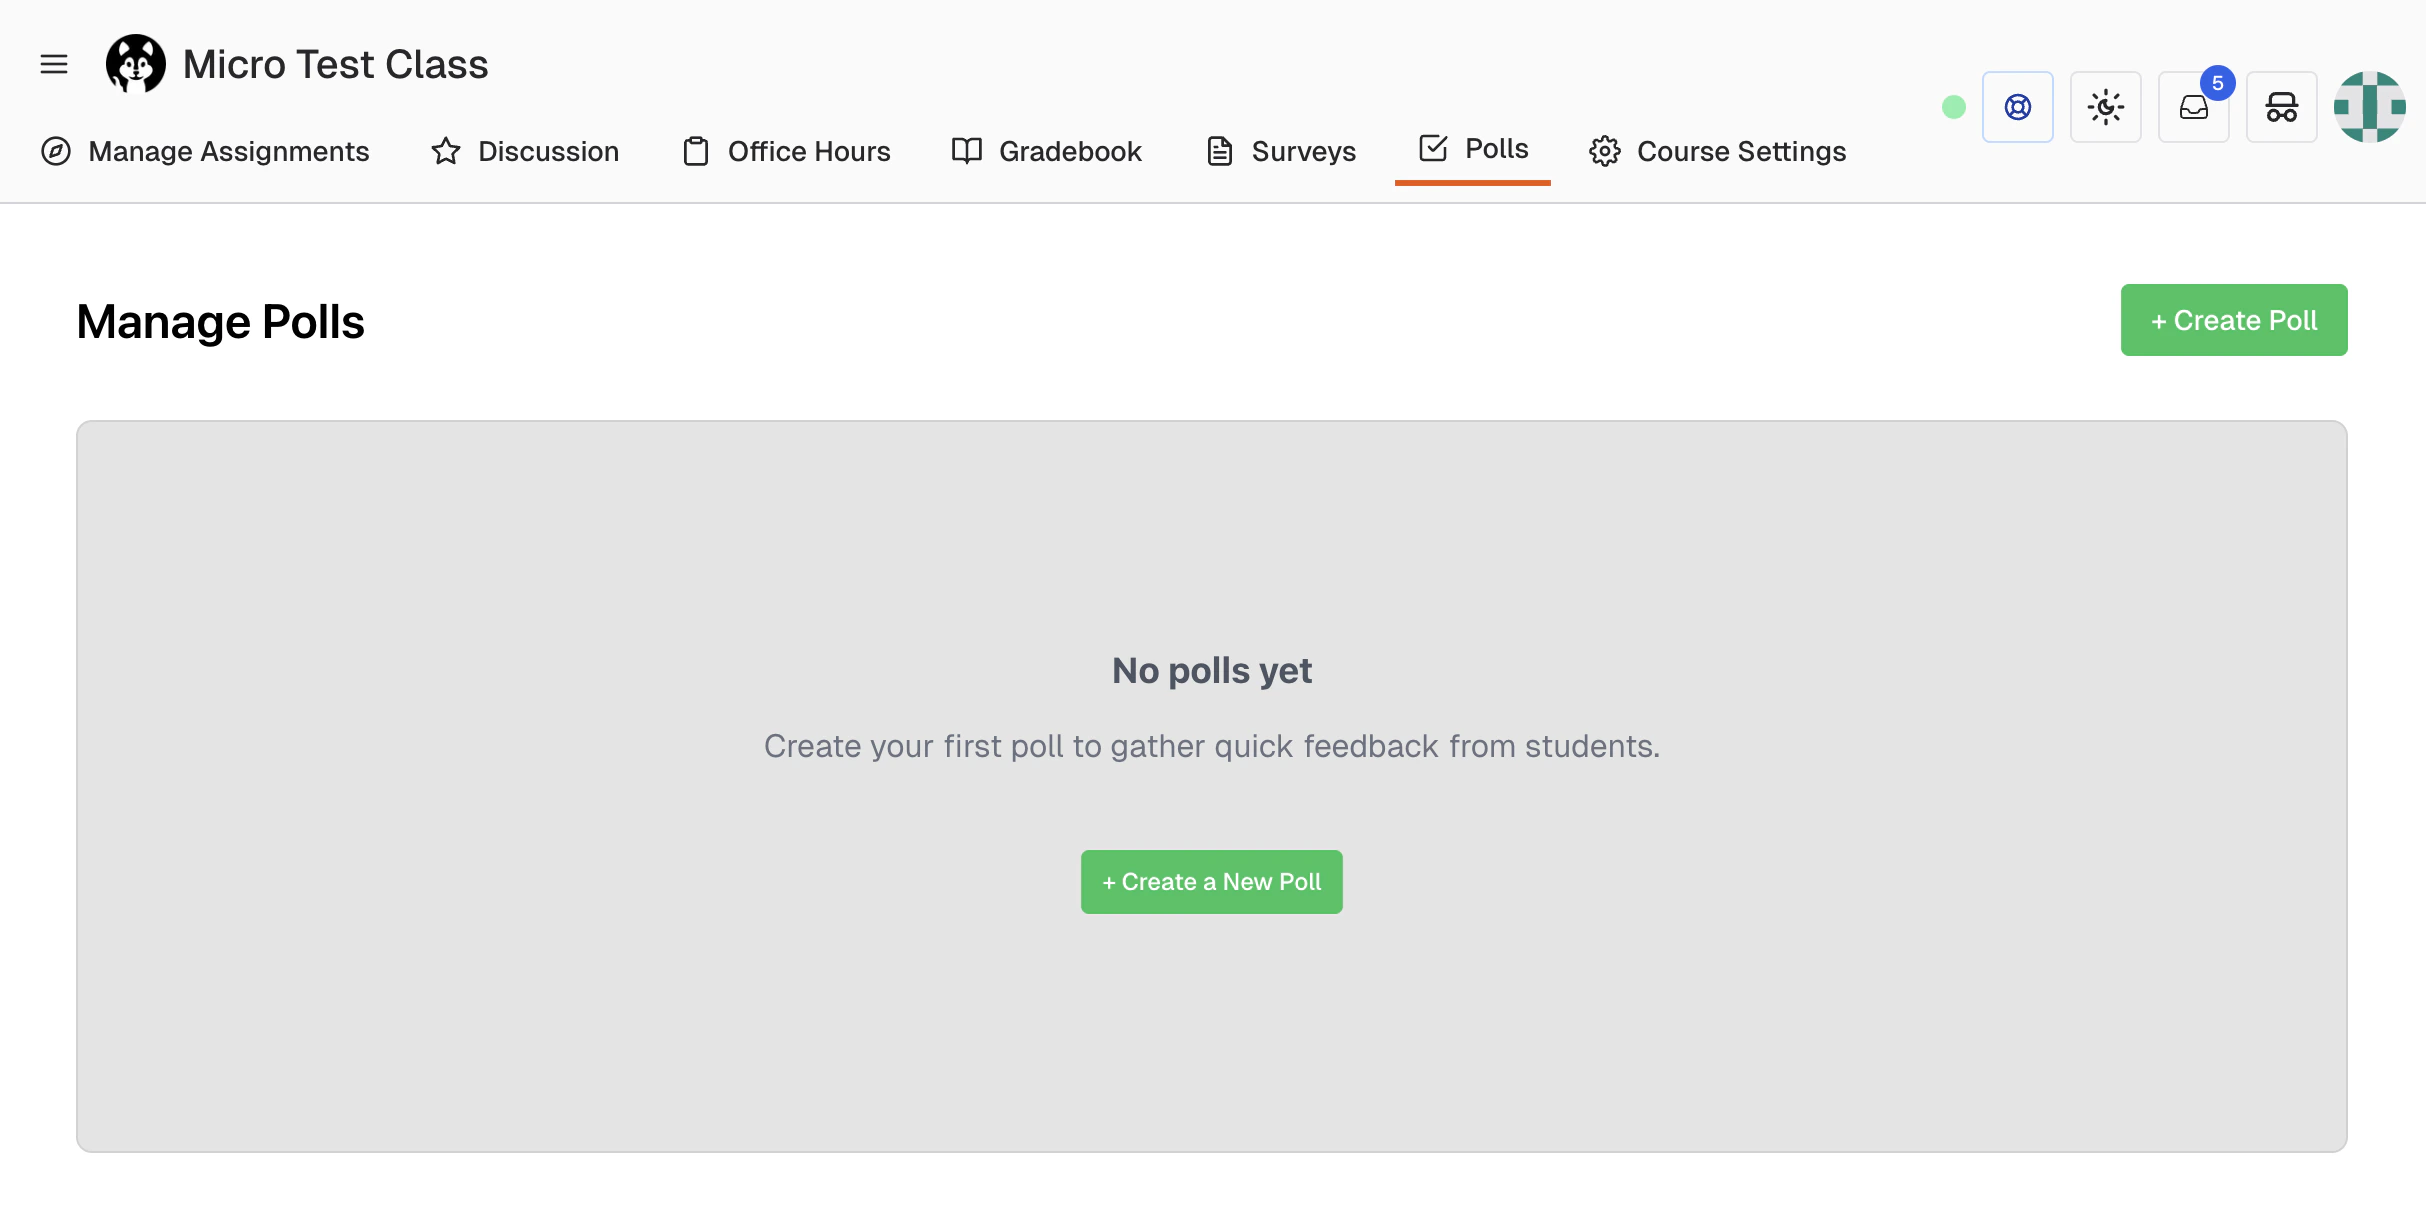
Creating a New Poll
- Navigate to the “Polls” section in your course
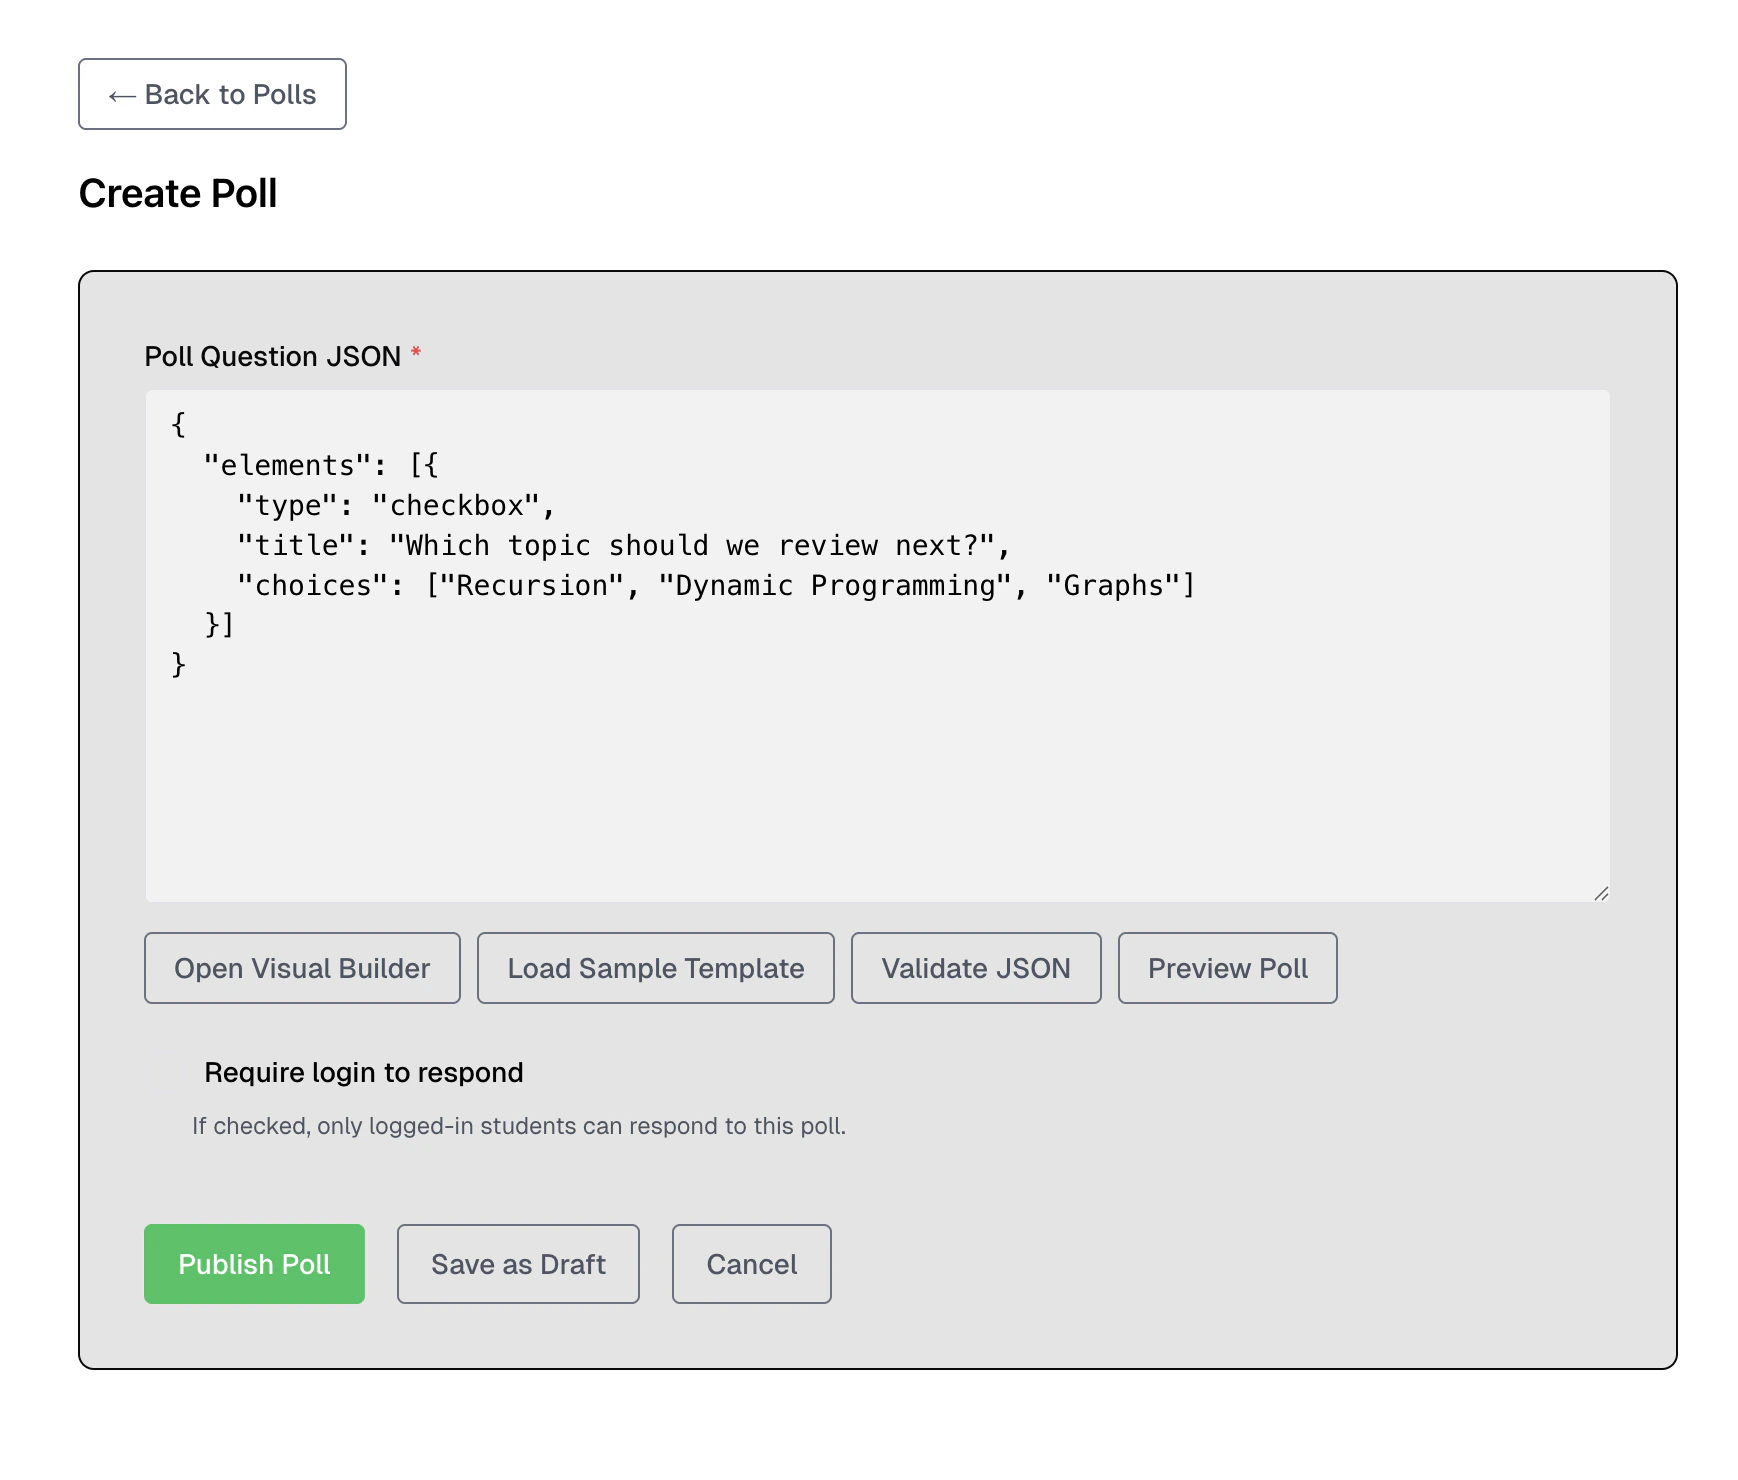
- Click the “Create Poll” button
- Click the Open Visual Builder button to design your question
- Select the poll type (see Poll Types for options)
- Enter your question prompt
- Add answer options (click “Add Choice” to add more)
- Click Use This Poll button to apply your question
- Optionally, click Preview Poll to see how students will see it
- Configure Require login to respond based on your needs
- Click Publish Poll to make it live immediately
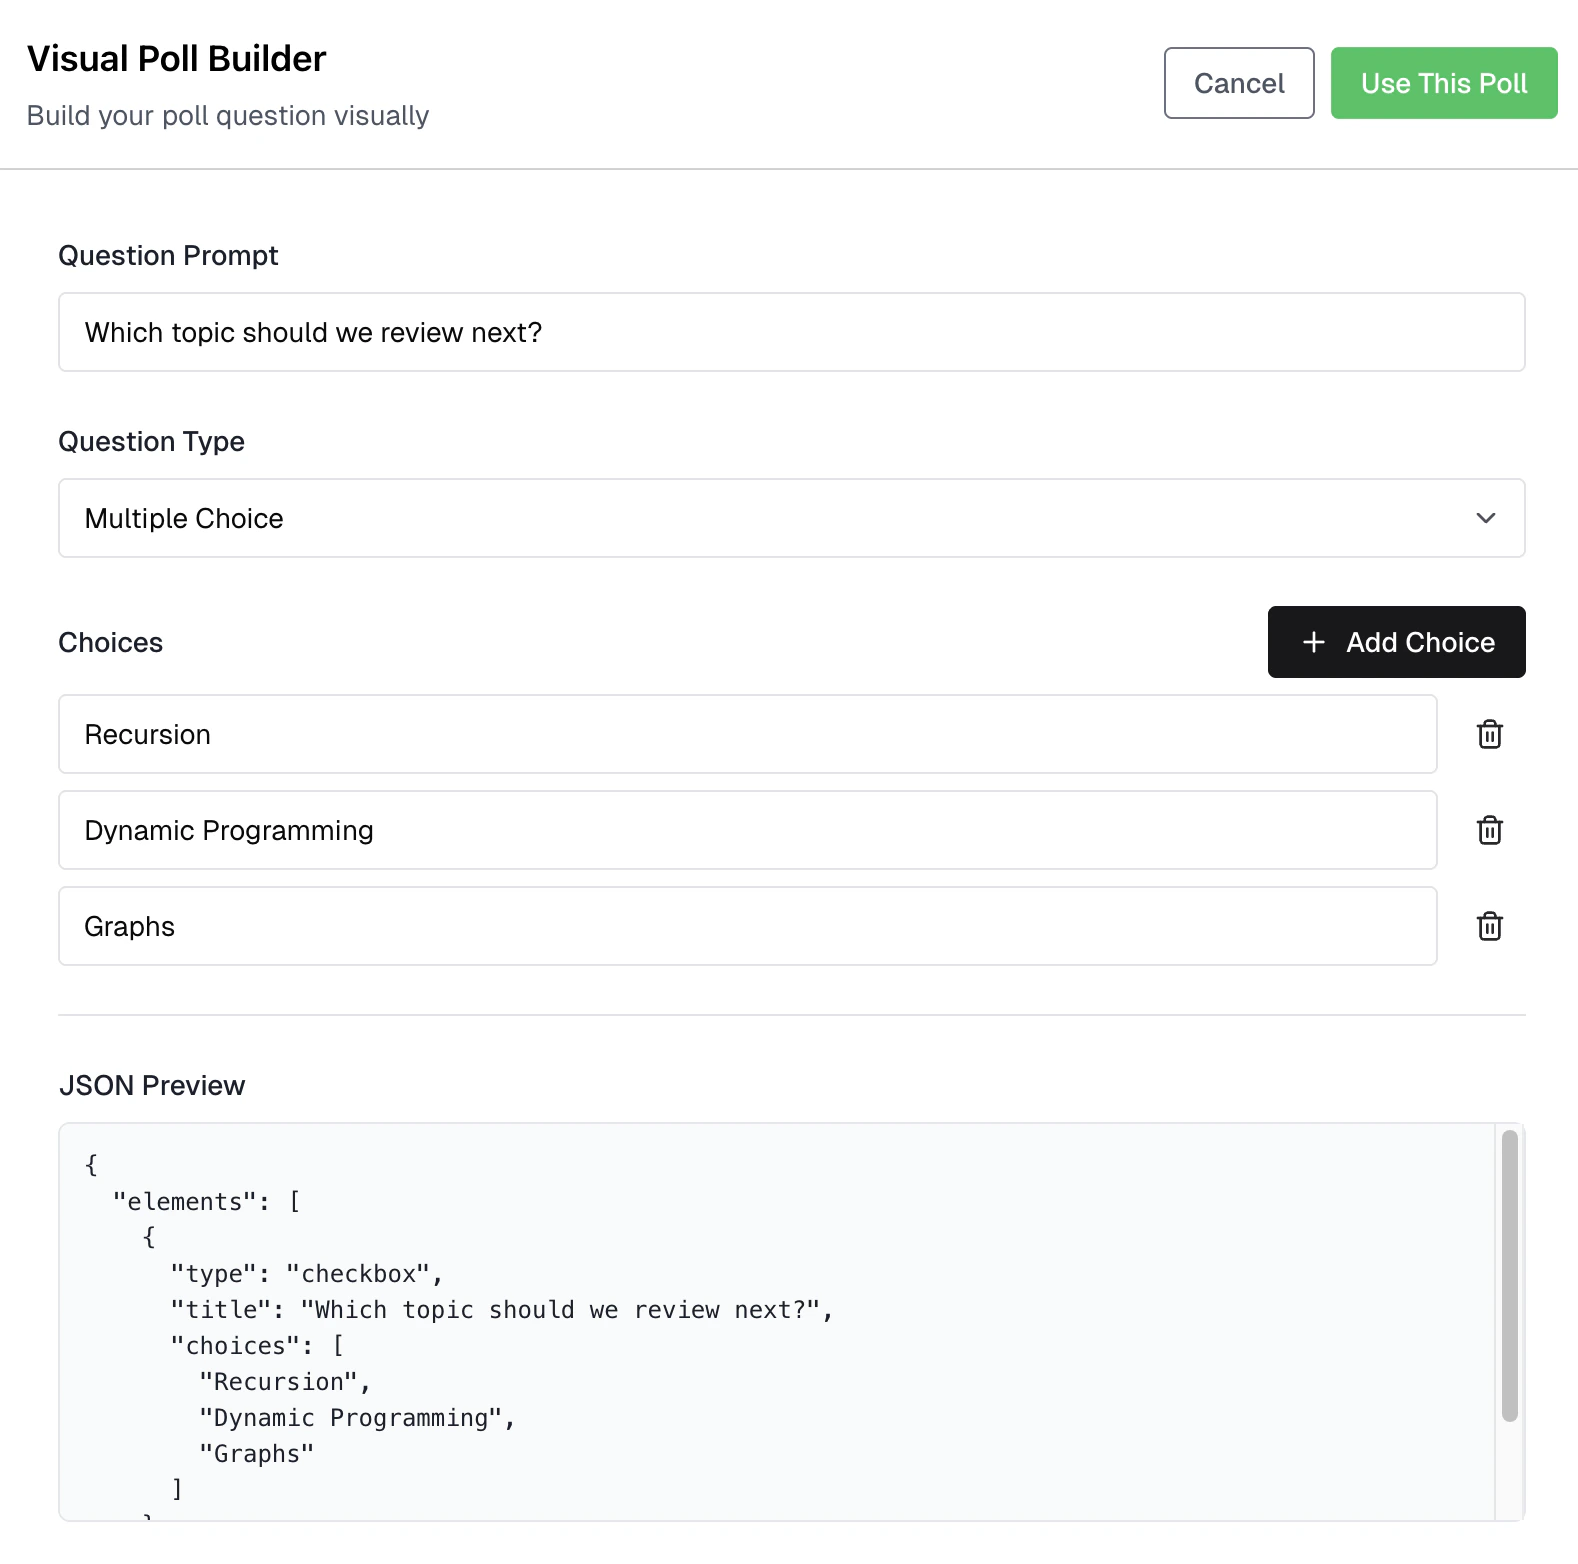
Using the Visual Builder
The visual builder provides an intuitive interface for creating poll questions:
Question Prompt
Enter the question you want to ask students. Keep it concise so students can read and respond quickly.
Poll Type Selection
Choose between:
- Single Choice: Students select exactly one answer
- Multiple Choice: Students can select multiple answers
Answer Options
- Click Add Choice to add answer options
- Each option has a text field for the choice label
- Minimum of 2 options required
- Remove options by clicking the delete icon
Applying Changes
After configuring your question, click Use This Poll to apply it. The JSON configuration will be updated automatically.
Poll Settings
When creating a poll, you can configure the following:
| Setting | Description |
|---|
| Question Prompt | The question displayed to students |
| Question Type | Single choice or multiple choice |
| Choices | The available response options |
| Require Login | Whether students must be logged in to respond |
Require Login
This setting controls who can respond to your poll:
| Setting | Behavior |
|---|
| Enabled | Students must log in to Pawtograder to respond. Their identity is recorded. |
| Disabled | Anyone with the poll link/QR code can respond anonymously. |
Enable Require Login if you want to:
- Track which students participated
- Ensure only enrolled students respond
- Use polls for attendance
Disable it for:
- Quick anonymous feedback
- Low-stakes comprehension checks
- Maximizing response rate (no login friction)
Automatic Poll Closing
Polls automatically close one hour after being published. This ensures that:
- Responses are collected in a timely manner
- Students cannot submit responses long after class has ended
- Results remain relevant to the in-class discussion
The one-hour timer starts when you click Publish Poll, not when students first respond.
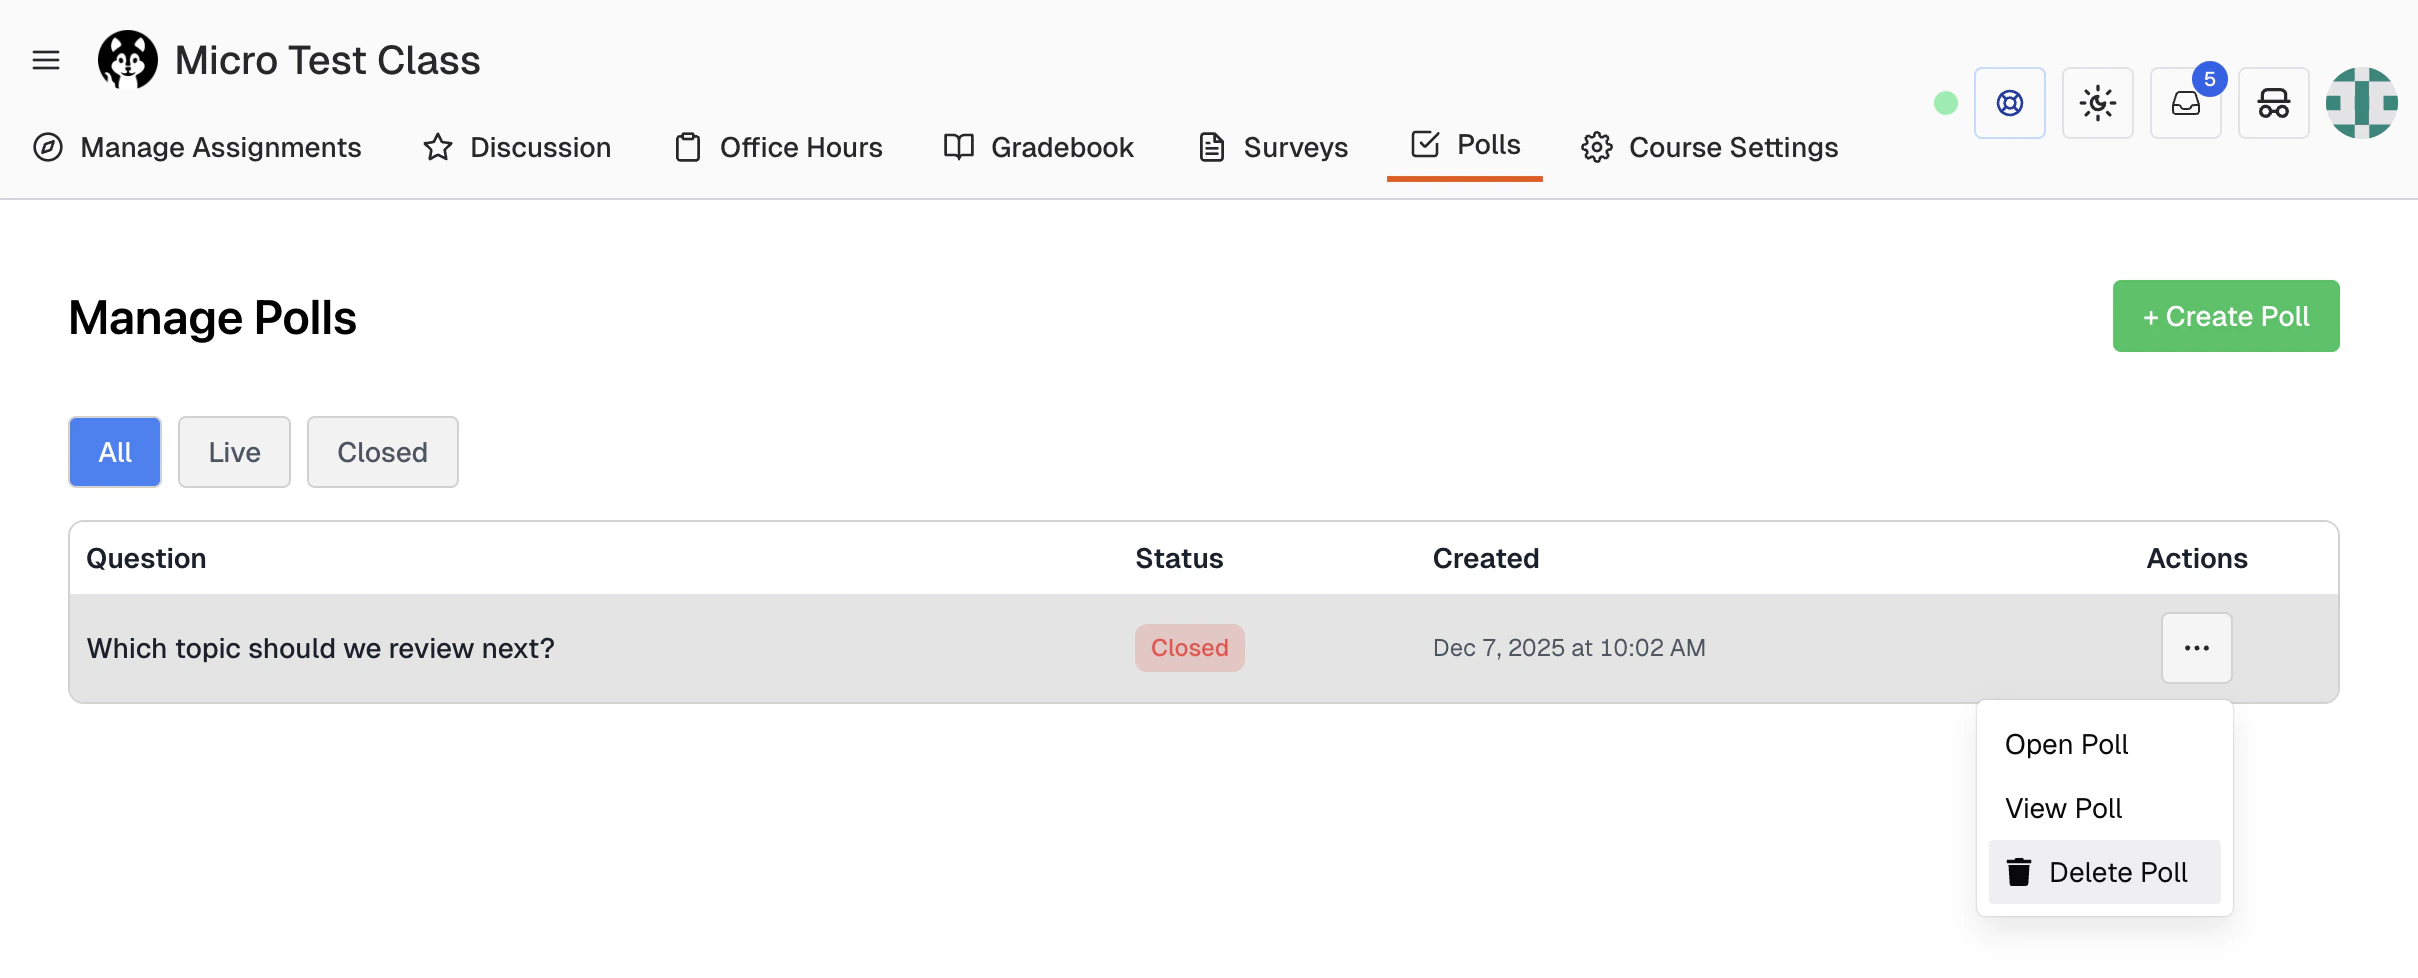
Managing Polls
Viewing All Polls
The polls management page shows all your polls with filtering options:
- All: Shows all polls (live and closed)
- Live: Shows only currently active polls
- Closed: Shows only closed polls
Opening and Closing Polls
From the poll management view:
- Open Poll: Makes a closed poll live again (resets the 1-hour timer)
- Close Poll: Manually closes a poll before the automatic timeout
Viewing Responses
Click on a poll to view its responses and analytics. See Poll Visualizations for details on the analytics dashboard.
Deleting a Poll
To delete a poll:
- Click the Delete button on the poll row
- Confirm your choice in the dialog
Deleting a poll permanently removes all student responses. This action cannot be undone. If you just want to stop collecting responses, close the poll instead.
Best Practices
Before Class
- Prepare questions in advance: Have your poll questions ready to minimize setup time
- Test the workflow: Create a test poll to familiarize yourself with the interface
- Plan your timing: Know when during the lecture you’ll use each poll
Question Design
- Keep questions concise: Students should be able to read and respond in under 30 seconds
- Limit answer options: 3-5 options is typically ideal for quick responses
- Use clear language: Avoid ambiguous wording that could confuse students
During Class
- Display the QR code: Project the QR code for easy mobile access
- Give adequate time: Allow 30-60 seconds for students to respond
- Discuss results: Use poll results to guide class discussion
After Class
- Close polls promptly: If you’re done collecting responses, close the poll
- Review participation: Check response counts to gauge engagement
- Iterate: Adjust your question style based on what gets the best responses